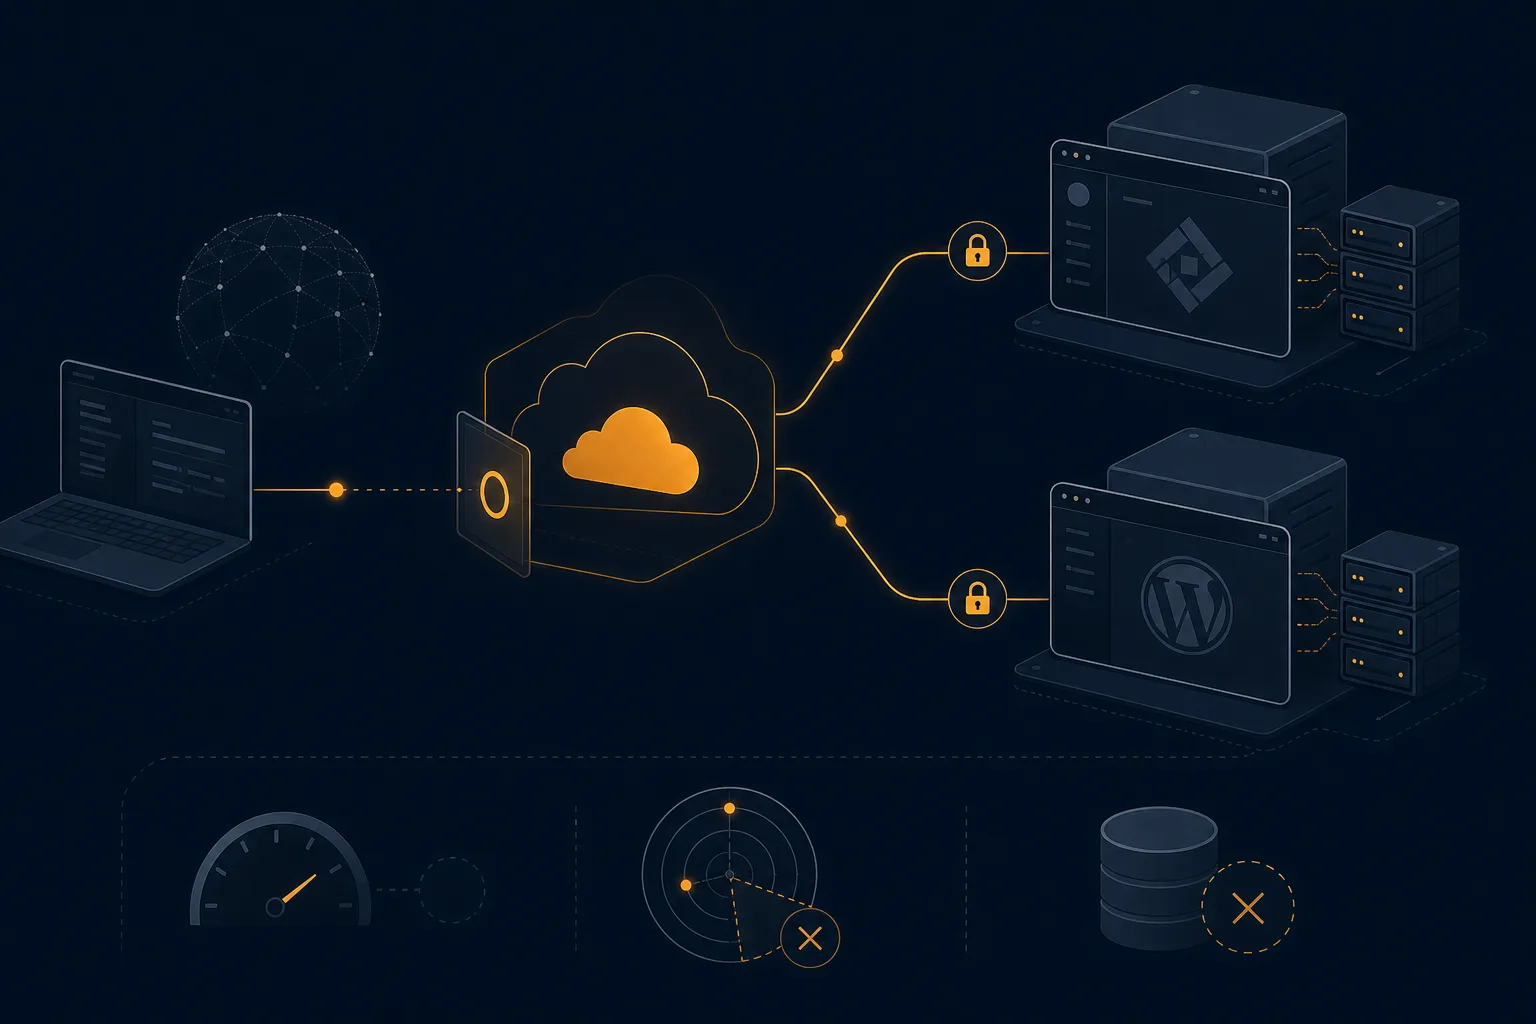
Zero Trust on a budget with Cloudflare and CyberPanel
Lock CyberPanel and wp-admin behind Cloudflare Access on the free tier. The exact setup we deploy, and the two places free stops.
Most Zero Trust guides are written for one of two people: an enterprise security team with a budget, or a homelabber hiding a Jellyfin server from the internet. Neither is you if you run a small business site and want your admin panel to stop being a soft target. We set this up on the Cloudflare free tier for our own CyberPanel boxes and for clients, and the honest answer is that it costs nothing for most small teams. Here is the exact setup, and the two spots where the free tier actually bites.
What Zero Trust replaces, in plain terms
Your CyberPanel login sits on port 8090. Your WordPress login sits at /wp-admin. Both are reachable by anyone who knows the URL, which means both get hammered by bots all day. The old fix was a VPN or an IP allowlist. VPNs are a pain when your accountant works from a cafe and your developer is in another country. IP allowlists break the moment someone’s home IP changes.
Cloudflare Access flips it around. Instead of “block bad IPs,” you say “nobody reaches this page until they prove who they are.” The proof is an email you control. A visitor hits your panel, Cloudflare intercepts, asks for a login, sends a one-time PIN to the address on your list, and only then passes them through to the real server. Bots never get to the login form because there is no login form to reach.
The free tier covers more than you’d guess
Cloudflare Access is free for up to 50 users. For a five-person agency or a shop owner with a bookkeeper and one developer, 50 seats is a ceiling you will never touch. You get unlimited applications, one-time PIN logins with no external identity provider required, and the audit log that shows who logged in and when. That last one has settled more than one “who changed the theme” argument for us.
You need two things before you start: your domain’s DNS on Cloudflare (the free plan is fine), and the ability to add a subdomain record. That is the whole prerequisite list. No paid plan, no add-ons.
Setup, step by step
Give yourself about 30 minutes the first time. Once you have done it, each new site takes five.
- Open the Zero Trust dashboard. In the Cloudflare dashboard, pick Zero Trust from the sidebar. Choose a team name, which becomes your login subdomain, something like yourcompany.cloudflareaccess.com. Select the free plan when prompted. You will be asked for a card to verify; you are not charged for staying on free.
- Set the login method. Go to Settings, then Authentication. Add “One-time PIN.” That is the zero-config option: no Google Workspace, no Azure, nothing to wire up. Cloudflare emails a code to whoever tries to log in.
- Create the application. Access, then Applications, then Add an application, then Self-hosted. Point it at the hostname you want to protect (panel.yourdomain.com for CyberPanel, or yourdomain.com/wp-admin for WordPress). Cloudflare needs this hostname proxied (the orange cloud on in DNS).
- Write one policy. Name it “Staff.” Action: Allow. Rule: Emails, then type the addresses that should get in. Three people, three emails. Save.
- Test from your phone. Open the protected URL on mobile data, not your office wifi. You should hit the Cloudflare login, get a PIN by email, and land on the panel. If you reach the panel without a prompt, the hostname isn’t proxied. Fix the DNS record and try again.
That is a working Zero Trust gate in front of your most sensitive page, on a plan that costs nothing.
The CyberPanel wrinkle nobody mentions
CyberPanel runs on port 8090 by default, and it usually answers on the server IP rather than a proxied hostname. Cloudflare’s proxy, the orange cloud, only covers standard web ports out of the box. Port 8090 is not one of them on the free plan.
Two ways around it, and we use both depending on the box. The clean option is a Cloudflare Tunnel: install the cloudflared connector on the server, point a tunnel at localhost:8090, and expose it as panel.yourdomain.com. The tunnel rides over 443, so it is proxied and Access-protected, and your 8090 port can be firewalled off from the public internet entirely. That is the setup we prefer: the panel stops existing on the open internet. The quicker option, if you would rather not run a tunnel, is to put CyberPanel behind a standard reverse proxy on 443 and protect that hostname. Either way, the point is the same: 8090 should never answer a stranger.
For WordPress it is simpler. /wp-admin already lives on 443 behind the proxy, so you add the Access application and you are done. We usually protect /wp-admin and /wp-login.php together, and leave the rest of the site public so customers and Google see it normally.
Where the free tier actually costs you
Two honest limits, because “free forever” is rarely the whole story.
First, one-time PIN gets old for daily users. If someone logs into the panel ten times a day, fishing a code out of email each time is friction they will complain about. The fix is a real identity provider, Google or Microsoft login instead of PINs, and connecting one is still free, but now you are managing an identity setup, which is a job. For a login you touch twice a week, PINs are fine. For an all-day tool, wire up Google.
Second, service tokens for automation. If you have a monitoring script or a webhook that needs to reach a protected endpoint, it cannot answer an email prompt. You handle that with a service token or a bypass policy for specific paths, and getting the scoping right so you do not accidentally punch a hole is the fiddly part. It is doable on free; it is just the part where people either ask us or spend an afternoon reading docs.
Why this earns its 30 minutes
We put every CyberPanel we manage behind Access, and the login-attempt noise in the logs drops to nothing overnight, because the bots never reach a login form at all. That alone is worth it. You also stop worrying about the next panel CVE, because an unauthenticated attacker cannot reach the vulnerable page to exploit it in the first place. A gate in front of the login turns a lot of “critical, patch now” advisories into “patch on your normal schedule.”
It is not a full security program. It protects the front door; it does nothing about a plugin that is already compromised or a database that was never backed up. But as a single afternoon’s work with a recurring cost of zero, putting your admin surfaces behind Cloudflare Access is one of the highest-return things a small site owner can do.
If you would rather have it done and audited than read Cloudflare docs on a Saturday, that is the kind of thing our security work covers. We harden the panel, set up Access, lock the server, and hand you the runbook. It pairs naturally with a broader Cloudflare setup and hardening pass, and if you run CyberPanel, our notes on CyberPanel support go deeper on the box itself. For the edge rules we add alongside this, see the five Cloudflare rules we add to every site, and the wider server hardening checklist we run on new machines.
Next in the journal
- 26 Aug 2026 Drupal vs WordPress in 2026: an honest comparison We maintain both and sell neither. What Drupal and WordPress actually cost after launch: incident length, the upgrade tax, server demands, and when to…
- 22 Jul 2026 Drupal content migration tool: what we use in 2026 Search for a Drupal content migration tool and you get twenty module pages, a decade of forum threads, and a few videos promising a…